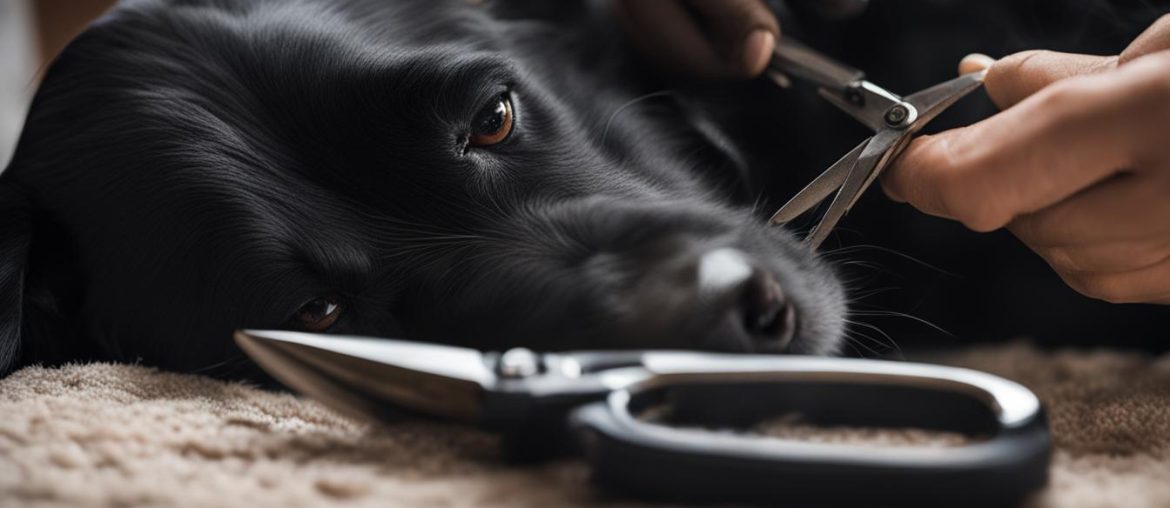
Trimming a dog’s nails can be a challenging task, especially when they have black nails. However, with the right techniques and tools, you can safely cut your dog’s black nails without causing them any pain or discomfort. In this article, I will guide you through the process of cutting black dog nails and provide you with helpful tips to ensure a successful nail-trimming experience.
Black dog nail trimming tips provide insights and recommendations on how to approach the task and ensure the safety and comfort of your furry friend. By following these safe methods for trimming black dog nails, you’ll be equipped with the knowledge and confidence to maintain your dog’s nail health effectively.
Key Takeaways:
- Understanding the anatomy of a dog’s nail is crucial before attempting to trim black nails.
- Preparing your dog for nail trimming through desensitization and positive reinforcement is essential.
- Having the right tools, such as dog nail trimmers and styptic powder, is necessary for a successful trim.
- Follow a step-by-step guide to cutting black dog nails, gradually trimming small increments at a time.
- Use specific techniques for long nails and monitor your dog’s nail health regularly.
Understanding Dog Nail Anatomy
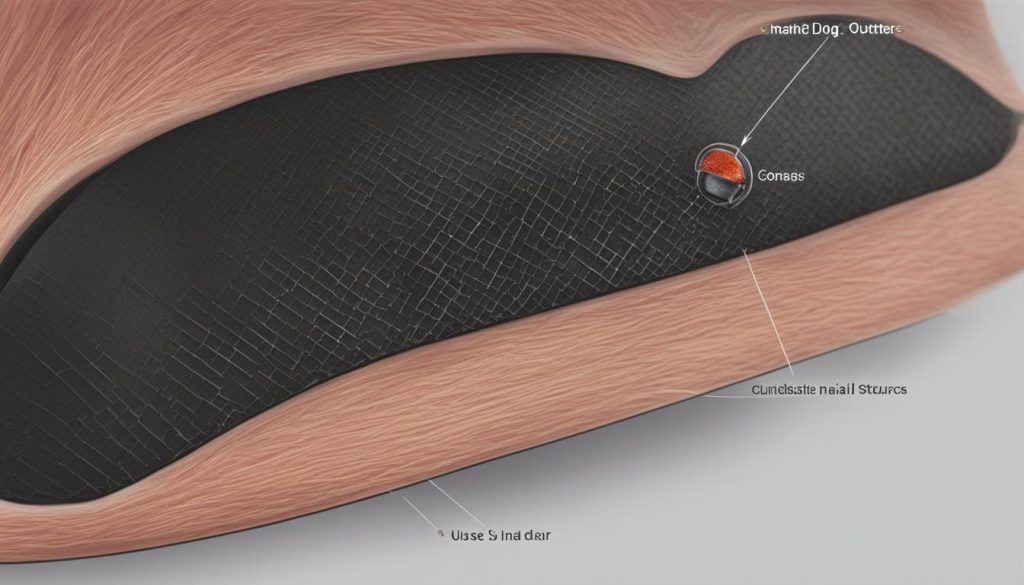
Before attempting to cut your dog’s black nails, it’s important to understand their nail anatomy. The structure of a dog’s nail is similar to that of cats and humans, with a small quick underneath the nail. In dogs with clear nails, the quick appears as a pointy pink triangle. However, in dogs with black nails, the quick is not visible until you start cutting. Regular nail trims help shorten the quick over time.
To get a better visual understanding of dog nail structure, refer to the image below:
- Outer Sheath: The hard, protective outer layer of the nail.
- Quick: The sensitive, blood-rich tissue underneath the nail. It appears pink in clear nails but is not visible in black nails.
- Blood Supply: The blood vessels that traverse through the quick, providing nourishment to the nail.
- Secure Attachment: The connection between the nail and the underlying bone, ensuring stability.
Understanding the anatomy of your dog’s nails will help you navigate the nail-trimming process more effectively and minimize the risk of cutting the quick.
Preparing Your Dog for Nail Trimming
Before you begin cutting your dog’s nails, it’s crucial to ensure that they are comfortable with having their feet touched. This can be achieved through a process called desensitization. Desensitization involves gradually getting your dog used to having their paws touched and handled.
One effective method for desensitization is to start by gently touching your dog’s paws and immediately rewarding them with treats and praise. Gradually increase the duration of paw-touching exercises and continue to reward your dog for their cooperation. This positive reinforcement not only helps your dog associate paw touching with positive experiences but also helps them build trust and confidence.
Take the desensitization process slow and work at your dog’s pace. It’s important to remain patient and not force your dog to endure more than they are comfortable with. If your dog shows signs of fear or discomfort, take a step back and try again later. Consistency and positive experiences are key to successfully preparing your dog for nail trimming.
In addition to desensitization, treats can play an important role in preparing your dog for nail trimming. During paw-touching exercises and throughout the entire nail trimming process, rewards can help create a positive association and make the experience more enjoyable for your dog.
By utilizing desensitization techniques, positive reinforcement, and treats, you can ensure that your dog is calm and relaxed during nail trimming sessions. This will make the experience less stressful for both you and your furry friend, allowing you to successfully maintain their nail health.
Essential Tools for Nail Trimming
When it comes to trimming your dog’s black nails, having the right tools is crucial for a safe and successful experience. Using the correct tools will help you avoid any unnecessary discomfort or pain for your furry friend. Here are the essential tools you’ll need:
- Dog Nail Trimmers: Use a dog nail trimmer specifically designed for this purpose. Human nail trimmers won’t suffice, as they may not have the necessary strength or sharpness to cut through a dog’s nails effectively. The scissor-style trimmers are the easiest to use and provide more control.
- Styptic Powder: Accidents can happen, and you may accidentally cut the quick, resulting in bleeding. Styptic powder helps stop any bleeding quickly. Apply a small amount of the powder to the nail tip if bleeding occurs.
- Cornstarch: If you don’t have styptic powder, cornstarch can be a suitable alternative. It has clotting properties that can help stop bleeding. Apply a small amount of cornstarch to the nail tip and apply gentle pressure.
With these essential tools at your disposal, you’ll be well-equipped to trim your dog’s black nails safely and efficiently. Remember to handle the tools with care and follow the step-by-step guide to ensure a positive nail-trimming experience for both you and your dog.
Table: Essential Tools for Nail Trimming
| Tool | Description |
|---|---|
| Dog Nail Trimmers | Specifically designed for cutting a dog’s nails. Scissor-style trimmers provide more control. |
| Styptic Powder | Aids in stopping bleeding if the quick is accidentally cut during nail trimming. |
| Cornstarch | An alternative to styptic powder, it helps clot blood and stop bleeding. |
Step-by-Step Guide to Cutting Black Dog Nails
Trimming your dog’s black nails requires a careful and gradual approach to ensure their safety and comfort. Follow these step-by-step instructions to master the technique:
1. Begin by preparing your dog for the nail trimming session. Ensure they are relaxed and comfortable, and use positive reinforcement techniques to create a positive association with the process.
2. Hold your dog’s paw gently but firmly, and identify the white, flaky interior of the nail. Start trimming the nail in small increments, avoiding the dark, thick outer sheath.
3. As you trim, be on the lookout for a small black dot in the center of the nail. This is an indication that you are close to reaching the quick. Once you see the dot, stop cutting immediately to prevent any pain or injury.
4. Please be aware that the quick may vary in length from nail to nail. Take your time and trim each nail individually, ensuring you don’t go too far.
Remember to remain patient and reward your dog throughout the process. If you’re unsure or uncomfortable with cutting your dog’s black nails, consult a professional groomer or veterinarian for assistance.
Table: Common Tools for Trimming Black Dog Nails
| Tool | Description |
|---|---|
| Dog Nail Trimmers | Specifically designed for trimming a dog’s nails, these trimmers are available in scissor-style or guillotine-style options. |
| Styptic Powder | Used to stop bleeding in case the quick is accidentally cut. A must-have for any nail-trimming session. |
| Cornstarch | An alternative to styptic powder, cornstarch can also be used to stop bleeding if the quick is cut. |
Always keep these tools handy during the nail-trimming process to ensure a smooth and safe experience for both you and your dog.
Tips for Safe and Effective Nail Cutting
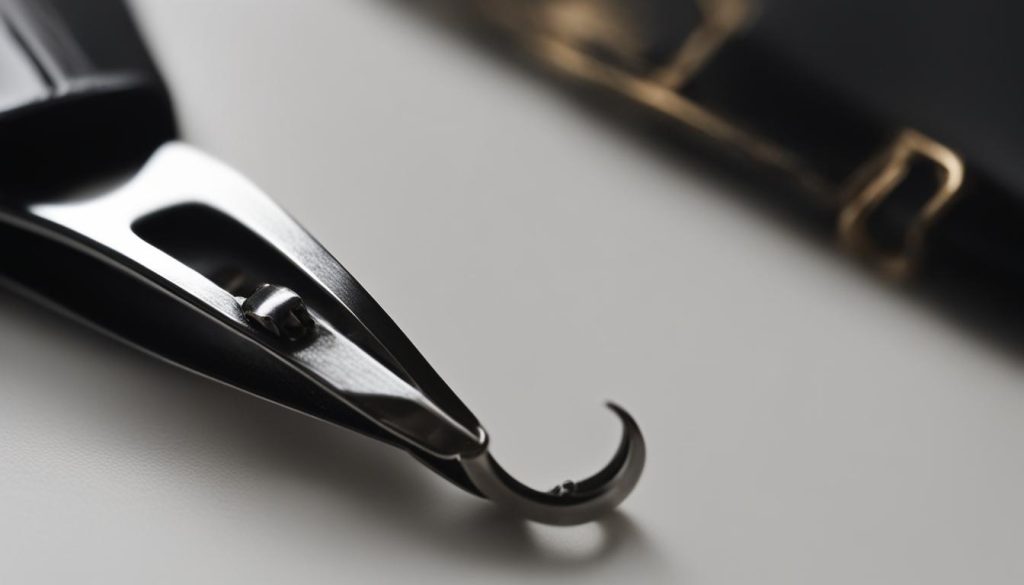
When it comes to cutting your dog’s black nails, there are a few additional tips that can help ensure a safe and effective trimming session. Here are some key considerations to keep in mind:
Use Clear Nails as a Guide
If your dog has both clear and black nails, you can use the clear nails as a reference to estimate where the quick ends in the black nails. The quick is the sensitive part of the nail that you want to avoid cutting into. By using the clear nails as a guide, you can minimize the risk of accidentally cutting the quick on the black nails. Proceed with caution and make small, gradual cuts to avoid any mishaps.
Make Angled Cuts
When trimming your dog’s black nails, it can be helpful to make angled cuts rather than straight across. Angled cuts can help smooth the top and bottom of the nail, reducing the chances of any sharp edges or splintering. This can also make the nail more comfortable for your dog and reduce the likelihood of any snagging or catching on surfaces.
Don’t Forget the Dewclaw
The dewclaw is the “thumb” on your dog’s front and sometimes back paws. It can often grow longer than the other nails and may require special attention during nail trimming. Be sure to include the dewclaw in your regular trimming routine to prevent it from growing too long and causing discomfort or potential issues.
Focus on Outer Nail Trimming
When trimming your dog’s black nails, it’s important to only cut into the outer part of the nail and avoid going too far. The quick is located inside the nail and is not visible in black nails. By focusing on the outer nail, you can help prevent any accidental cuts to the quick. Take your time, be gentle, and always prioritize your dog’s comfort and safety during the nail trimming process.
By following these tips, you can ensure a safe and effective nail cutting experience for your dog, even with black nails. Remember to use clear nails as a guide, make angled cuts, trim the dewclaw, and focus on the outer part of the nail. With patience and care, you can keep your dog’s nails properly maintained and promote their overall health and well-being.
Overcoming Fear and Anxiety
When it comes to trimming a black dog’s nails, some dogs may experience fear and anxiety. This can make the process challenging for both the dog and the owner. However, there are strategies you can employ to help your dog overcome their fear and make nail trimming a positive experience.
Counter conditioning is a technique that involves changing your dog’s emotional response to nail trimming. Gradually introduce the nail trimmer to your dog in a calm and relaxed environment. Start by simply showing them the trimmer and rewarding them with treats and praise. As your dog becomes more comfortable, you can progress to touching their paws with the trimmer without actually cutting their nails. Over time, your dog will associate the trimmer with positive experiences.
In addition to counter conditioning, desensitization can also be beneficial. This involves gradually acclimating your dog to the sensation of having their nails trimmed. Start by lightly touching their paws and gradually increase the amount of pressure. Pair these actions with treats and positive reinforcement to create a positive association. By taking small steps and gradually increasing the intensity, you can help your dog become more comfortable with the nail trimming process.
Remember to be patient and understanding during the desensitization and counter conditioning process. Every dog is different, and it may take time for them to overcome their fear. If needed, take breaks during the nail trimming session and offer plenty of rewards and praise. With consistency and positive reinforcement, you can help your dog conquer their fear and make nail trimming a stress-free experience.
Trimming Techniques for Long Nails
If your dog’s nails have grown extremely long, it’s crucial to approach trimming with care. Clipping extra long nails requires a gradual trimming process to prevent discomfort or injury to your furry friend. By following these techniques, you can safely trim your dog’s long nails and maintain their overall health and well-being.
Gradual Trimming
When dealing with long nails, it’s important to avoid cutting off a large piece at once. Instead, opt for gradual trimming in small increments. Start by trimming a small amount of the nail and check the length. Repeat this process until the nails are at the desired length. Taking it slow ensures that you can closely monitor the process and prevent accidentally cutting the quick.
Varied Cutting Angles
Using varied cutting angles can help train the quick to recede gradually over time. Alternate between cutting at a 45-degree angle and a 90-degree angle. This technique encourages the quick to retract, allowing you to safely trim the nails closer to the desired length. It’s important to be patient and consistent with this approach to achieve the best results.
| Technique | Benefits |
|---|---|
| Gradual Trimming | – Prevents discomfort and injury – Allows for closer monitoring – Minimizes the risk of cutting the quick |
| Varied Cutting Angles | – Trains the quick to recede gradually – Safely trims nails closer to the desired length – Promotes overall nail health |
Remember, long nails can cause issues such as discomfort, posture problems, and injuries to the paw pads and legs. Regular nail trimming is crucial to prevent these problems and maintain your dog’s optimal health. By following the techniques mentioned above and establishing a regular trimming routine, you can ensure that your dog’s nails stay at a proper length and keep them happy and healthy for years to come.
Monitoring and Maintaining Nail Health
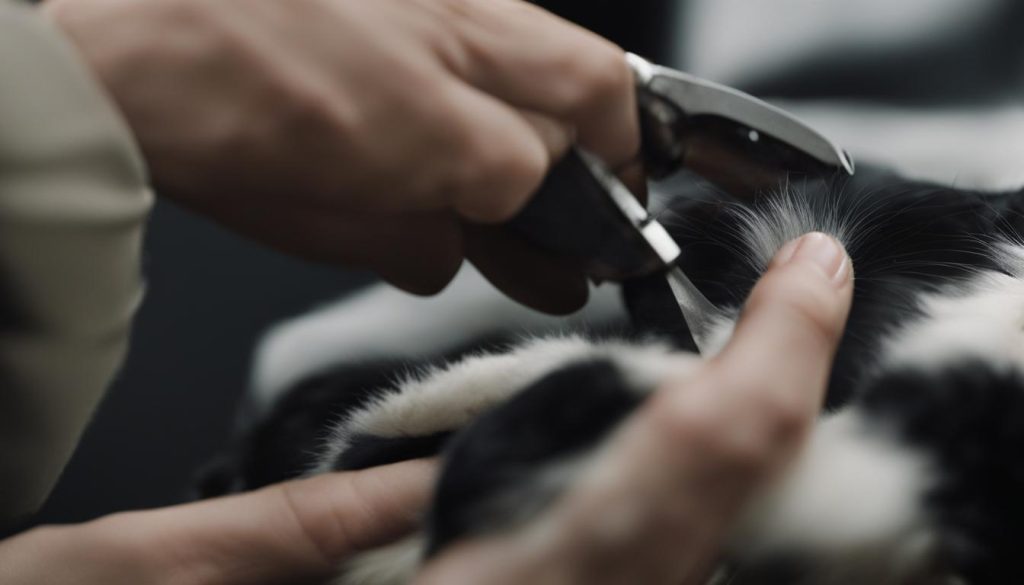
Regular nail checks and a consistent trimming schedule are essential for maintaining your dog’s nail health. By staying proactive and attentive to your furry friend’s nails, you can prevent nail overgrowth and associated issues.
Regular Nail Checks
To ensure your dog’s nails remain at a proper length, it’s important to perform regular nail checks. Take the time to inspect each nail and look for signs of overgrowth. Long nails may start curling or cause discomfort for your dog when walking. Additionally, pay attention to the dewclaw, as it can easily grow too long.
Trimming Schedule
Establishing a trimming schedule is key to keeping your dog’s nails healthy. The frequency of trimming will depend on your dog’s activity level and how quickly their nails grow. Some dogs may need their nails trimmed every 2-4 weeks, while others may require more frequent trims. Consult with your veterinarian to determine the best trimming schedule for your canine companion.
| Activity Level | Trimming Frequency |
|---|---|
| Low activity (indoor dogs) | Every 4-6 weeks |
| Moderate activity (regular walks) | Every 2-3 weeks |
| High activity (active and athletic dogs) | Every 1-2 weeks |
Remember to adjust the trimming schedule as needed. If you notice your dog’s nails becoming too long between trims, you may need to increase the frequency. On the other hand, if your dog’s nails are consistently short, you can extend the time between trims slightly.
Regular nail checks and a consistent trimming schedule are vital for your dog’s well-being. Proper nail maintenance helps prevent discomfort, posture problems, and injuries to the paw pads and legs. By staying proactive and attentive, you can ensure your furry friend’s nails remain healthy and properly cared for.
Handling Accidental Quick Cuts
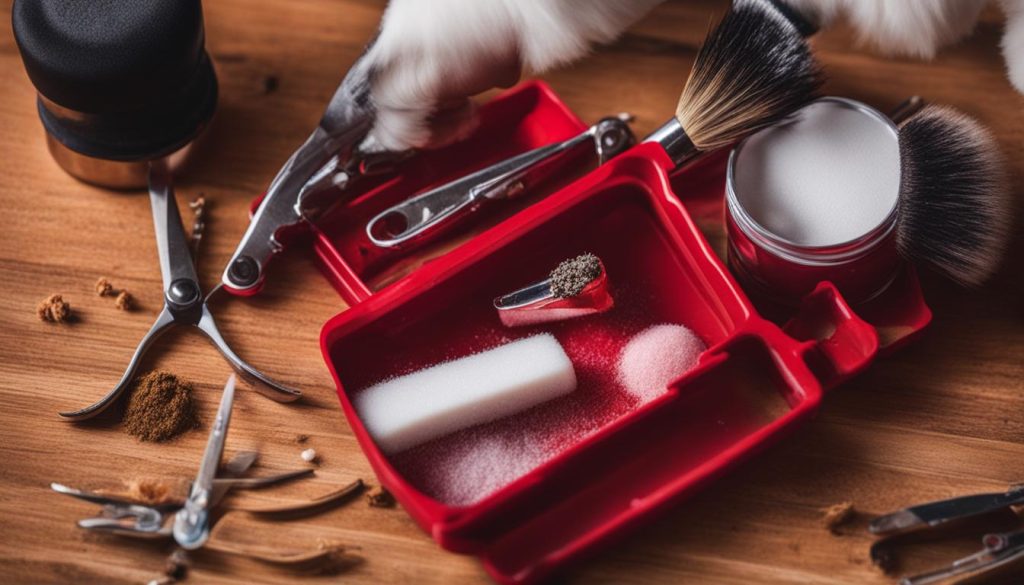
Accidents can happen, even with the utmost care during nail trimming. If you accidentally cut the quick while trimming your dog’s black nails, it may result in bleeding. To stop the bleeding immediately, it’s important to have styptic powder, flour, or baking soda on hand. These substances help to promote clotting and put an end to the bleeding. Apply a small amount directly to the affected area and apply gentle pressure for a few minutes. This should help stop the bleeding and allow the nail to heal.
After you have stopped the bleeding, it’s important to monitor the area for any signs of continuous bleeding, swelling, or redness. These may be indications of further complications or infection. If you notice any concerning signs, it’s best to contact a veterinarian for further assistance. They will be able to provide guidance and ensure proper healing for your dog’s nail.
“Accidents during nail trimming can be distressing, but it’s crucial to remain calm and take prompt action. By having the necessary supplies on hand and monitoring the situation closely, you can help your dog recover quickly and prevent any further complications.”
| Styptic Powder | Flour | Baking Soda |
|---|---|---|
| Promotes clotting | Helps stop bleeding | Assists in stopping bleeding |
| Acts quickly | Easily accessible | Readily available |
| Commonly used for nail trims | Safe for pets | Gentle on the skin |
While accidental quick cuts can be concerning, remember that they can be managed effectively with the right tools and proper care. By being prepared and staying vigilant, you can ensure your dog’s comfort and well-being during nail trimming sessions.
The Importance of Regular Nail Trimming
Regular nail trimming is crucial for maintaining your dog’s overall health and well-being. Long nails can lead to various issues that can affect their quality of life. Let’s take a closer look at some of the health problems that can arise from neglecting your dog’s nail care:
- Posture Problems: Dogs with long nails often experience changes in their posture. Overgrown nails can cause discomfort and alter their gait, leading to issues like back pain and abnormal spinal alignment.
- Arthritis: When the nails are too long, it can affect the alignment of the joints and contribute to the development or worsening of arthritis. Regular nail trimming can help alleviate stress on the joints and reduce the risk of arthritis.
- Paw Pad Injuries: If your dog’s nails are excessively long, they may have difficulty walking or running properly. This can result in paw pad injuries due to the uneven distribution of weight on the feet.
To prevent these problems and ensure your dog’s well-being, it’s important to establish a regular nail trimming routine. Regular trimming helps maintain a proper nail length and prevents the quick (the sensitive part of the nail) from becoming overgrown.
By keeping your dog’s nails at an appropriate length, you can help them maintain a comfortable and active lifestyle, reducing the risk of potential health complications that may arise from neglected nail care.
| Health Issues | Consequences |
|---|---|
| Posture Problems | Back pain, abnormal spinal alignment |
| Arthritis | Joint stress, worsened arthritis |
| Paw Pad Injuries | Difficulty walking, uneven weight distribution |
Regular nail trimming is an essential part of caring for your dog’s overall well-being. By addressing their nail maintenance needs, you can help them lead a happy and healthy life.
Wrapping Up
To summarize, trimming a black dog’s nails can be done safely and effectively with the right techniques and tools. By understanding the dog’s nail anatomy and following a step-by-step guide, you can confidently trim your dog’s nails without causing them any pain or discomfort.
Remember to prepare your dog for nail trimming by desensitizing them to paw-touching exercises and using positive reinforcement. Use a dog nail trimmer specifically designed for black nails and have styptic powder or cornstarch on hand in case of accidental cuts.
Take your time and trim the nails in small increments, keeping an eye out for the appearance of the quick. Use clear nails as a guide, make angled cuts, and don’t forget to trim the dewclaw. Regularly monitor your dog’s nail health and establish a trimming schedule to prevent overgrowth.
By following these safe nail cutting techniques, you can ensure your dog’s nails are at a proper length, promoting their overall health and well-being. So go ahead and confidently care for your black dog’s nails, keeping them happy and comfortable!
FAQ
How can I safely cut my dog’s black nails?
Follow the tips and techniques mentioned in this guide to safely trim your dog’s black nails without causing any pain or discomfort.
How do I know where the quick is in black nails?
The quick is not visible in black nails. However, you can use the clear nails as a reference or make angled cuts to estimate the location of the quick.
What tools do I need for black dog nail trimming?
You’ll need dog nail trimmers designed for black nails, styptic powder or cornstarch to stop bleeding, and treats for positive reinforcement.
How much should I trim at a time?
Start by trimming a small amount at a time to avoid cutting the quick. Trim the nail until you see a small black dot in the center, indicating the quick.
Should I trim the dewclaw as well?
Yes, remember to trim the dewclaw as it can grow too long. Be careful to only cut into the outer nail and avoid cutting the quick.
What can I do if my dog is fearful of nail trimming?
Work on desensitization and counter conditioning techniques to help your dog overcome their fear. Gradually introduce the nail trimmer and use positive experiences to create a positive association.
How should I trim extremely long nails?
Avoid cutting off a large piece at once. Trim the nails in small increments and alternate between cutting at a 45-degree angle and a 90-degree angle to train the quick to recede.
How often should I trim my dog’s nails?
Regularly monitor your dog’s nails and set up a trimming schedule to ensure they remain at a proper length. Long-haired breeds may require extra attention.
What should I do if I accidentally cut the quick and it starts bleeding?
Apply styptic powder, flour, or baking soda to stop the bleeding immediately. Monitor the area for any concerning signs and contact a veterinarian if necessary.
Why is regular nail trimming important for my dog’s health?
Long nails can cause discomfort, posture problems, arthritis, and injuries to the paw pads and legs. Regular nail trimming is essential to prevent these issues and maintain your dog’s overall health and well-being.


